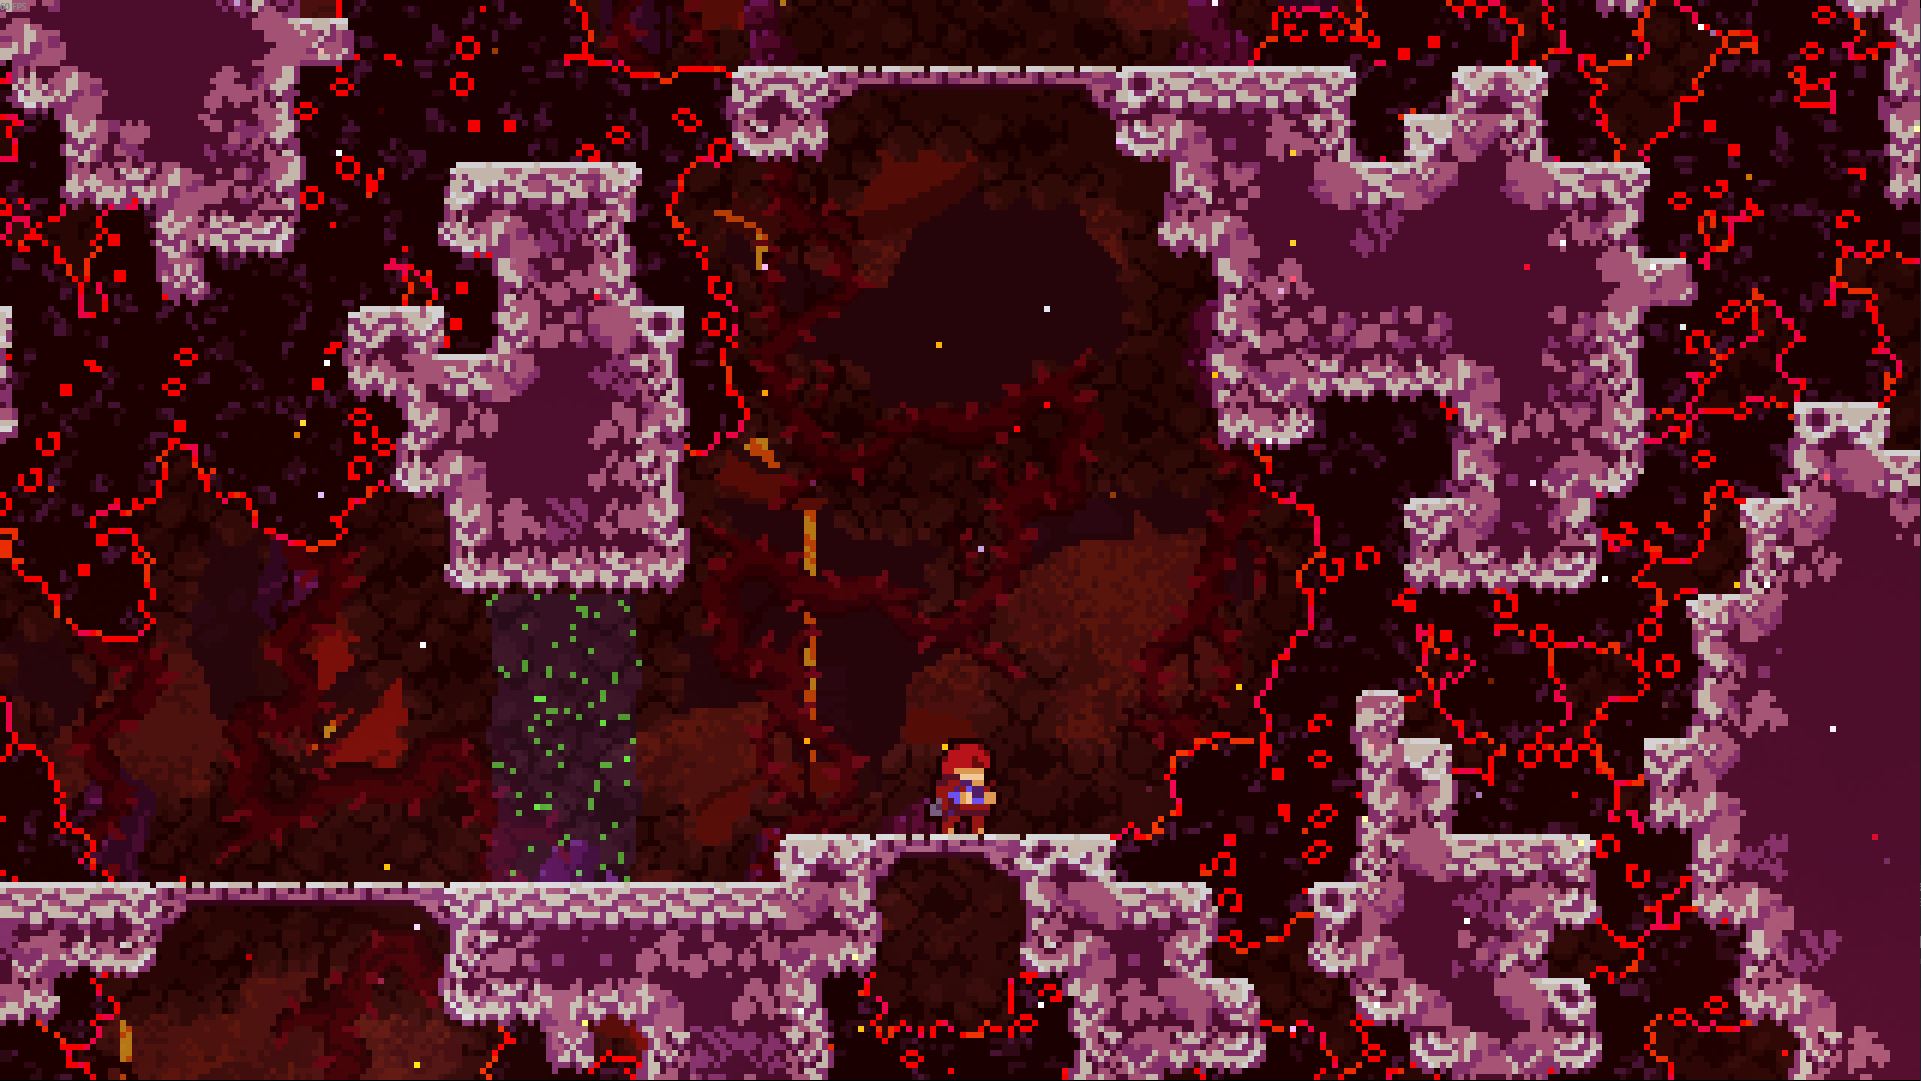
If somebody who didn't play Celeste asked me to show them one of my Celeste Mods, I'd probably pick Subterranean Exploration; an expert map I made for the 2020 Spring Collab. It's based around a custom trigger I programmed that swapped the player's max dash count between one and two. My favourite bit is when I got to reuse gameplay sections due to having a different max dash count. Anyway, I thought it would be fun to break down every part of my map
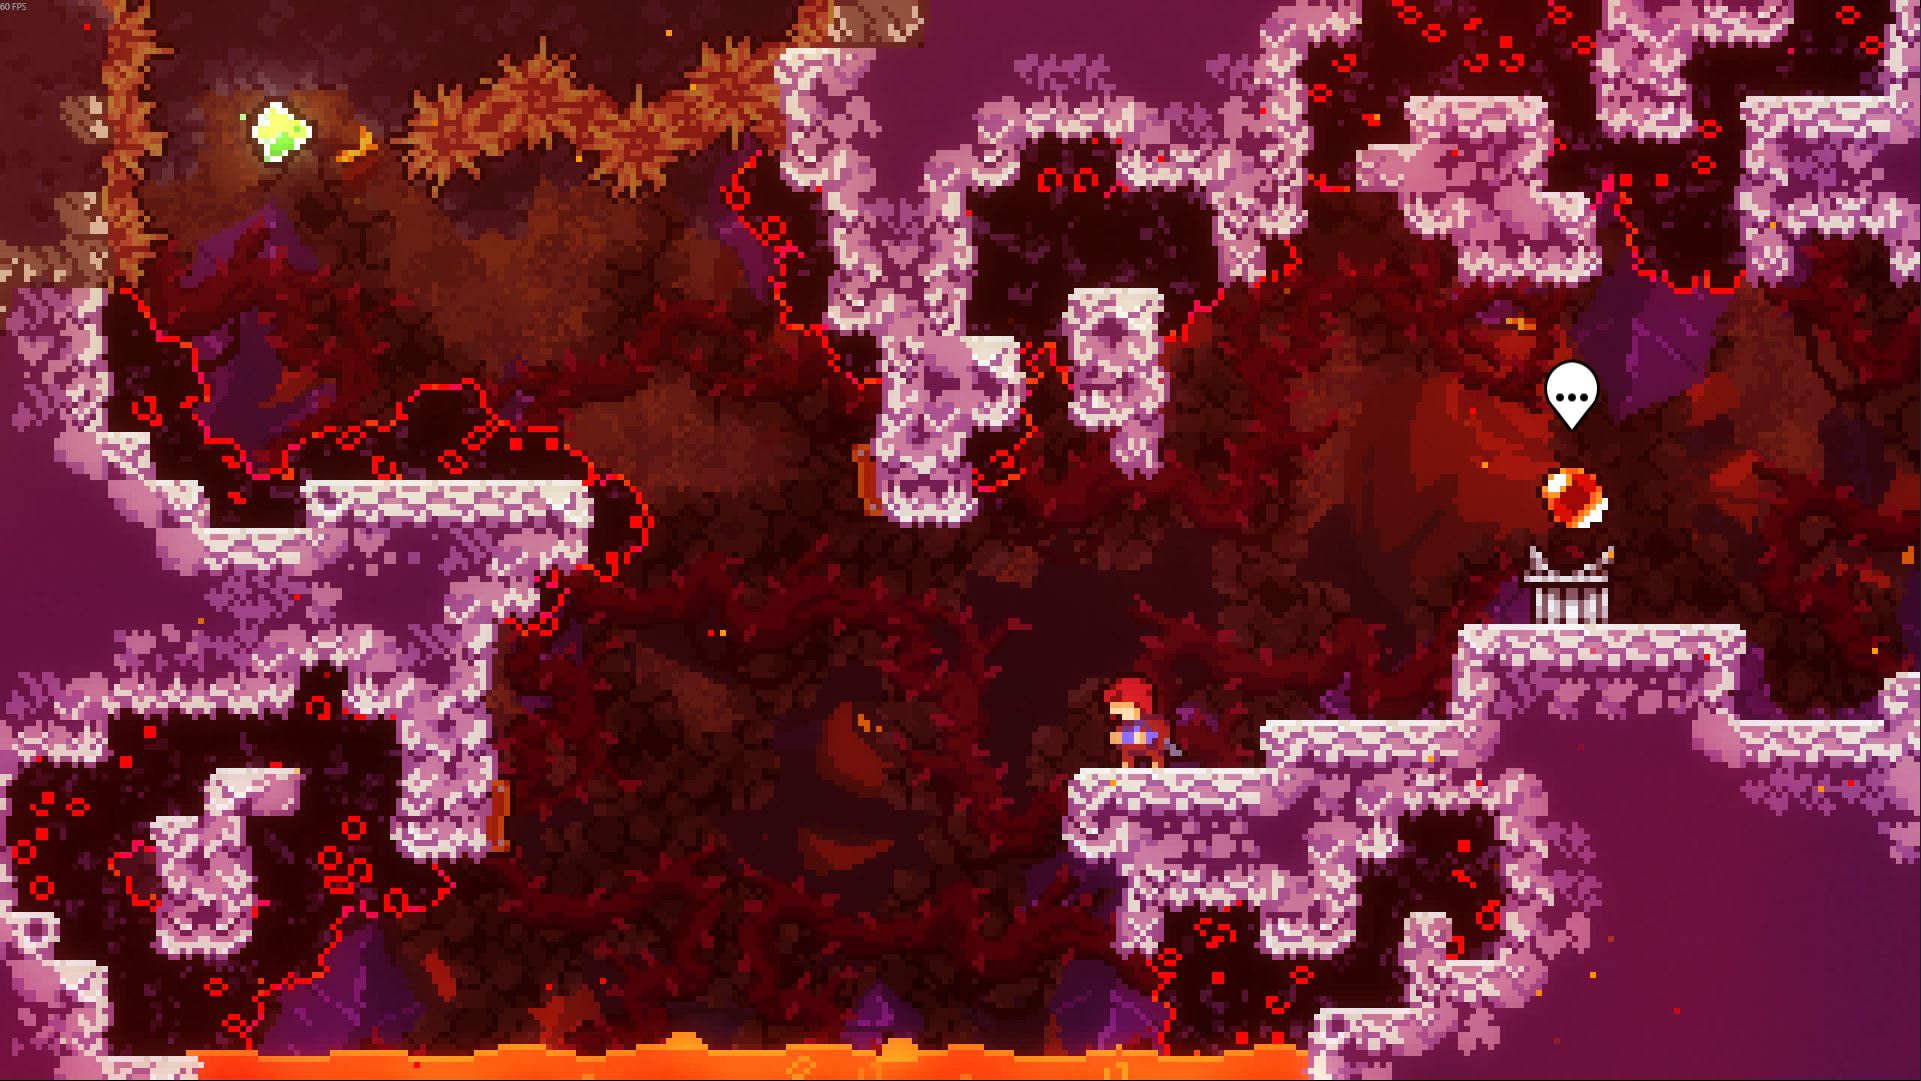
I didn't make this part, but I'm still annoyed because I didn't even consider putting lava in my level. Like, it looks so good! I think requiring a precise turnaround to get to my level doesn't feel quite right though. Overall, I'm pretty happy with how well the map was incorporated into the design of the lobby
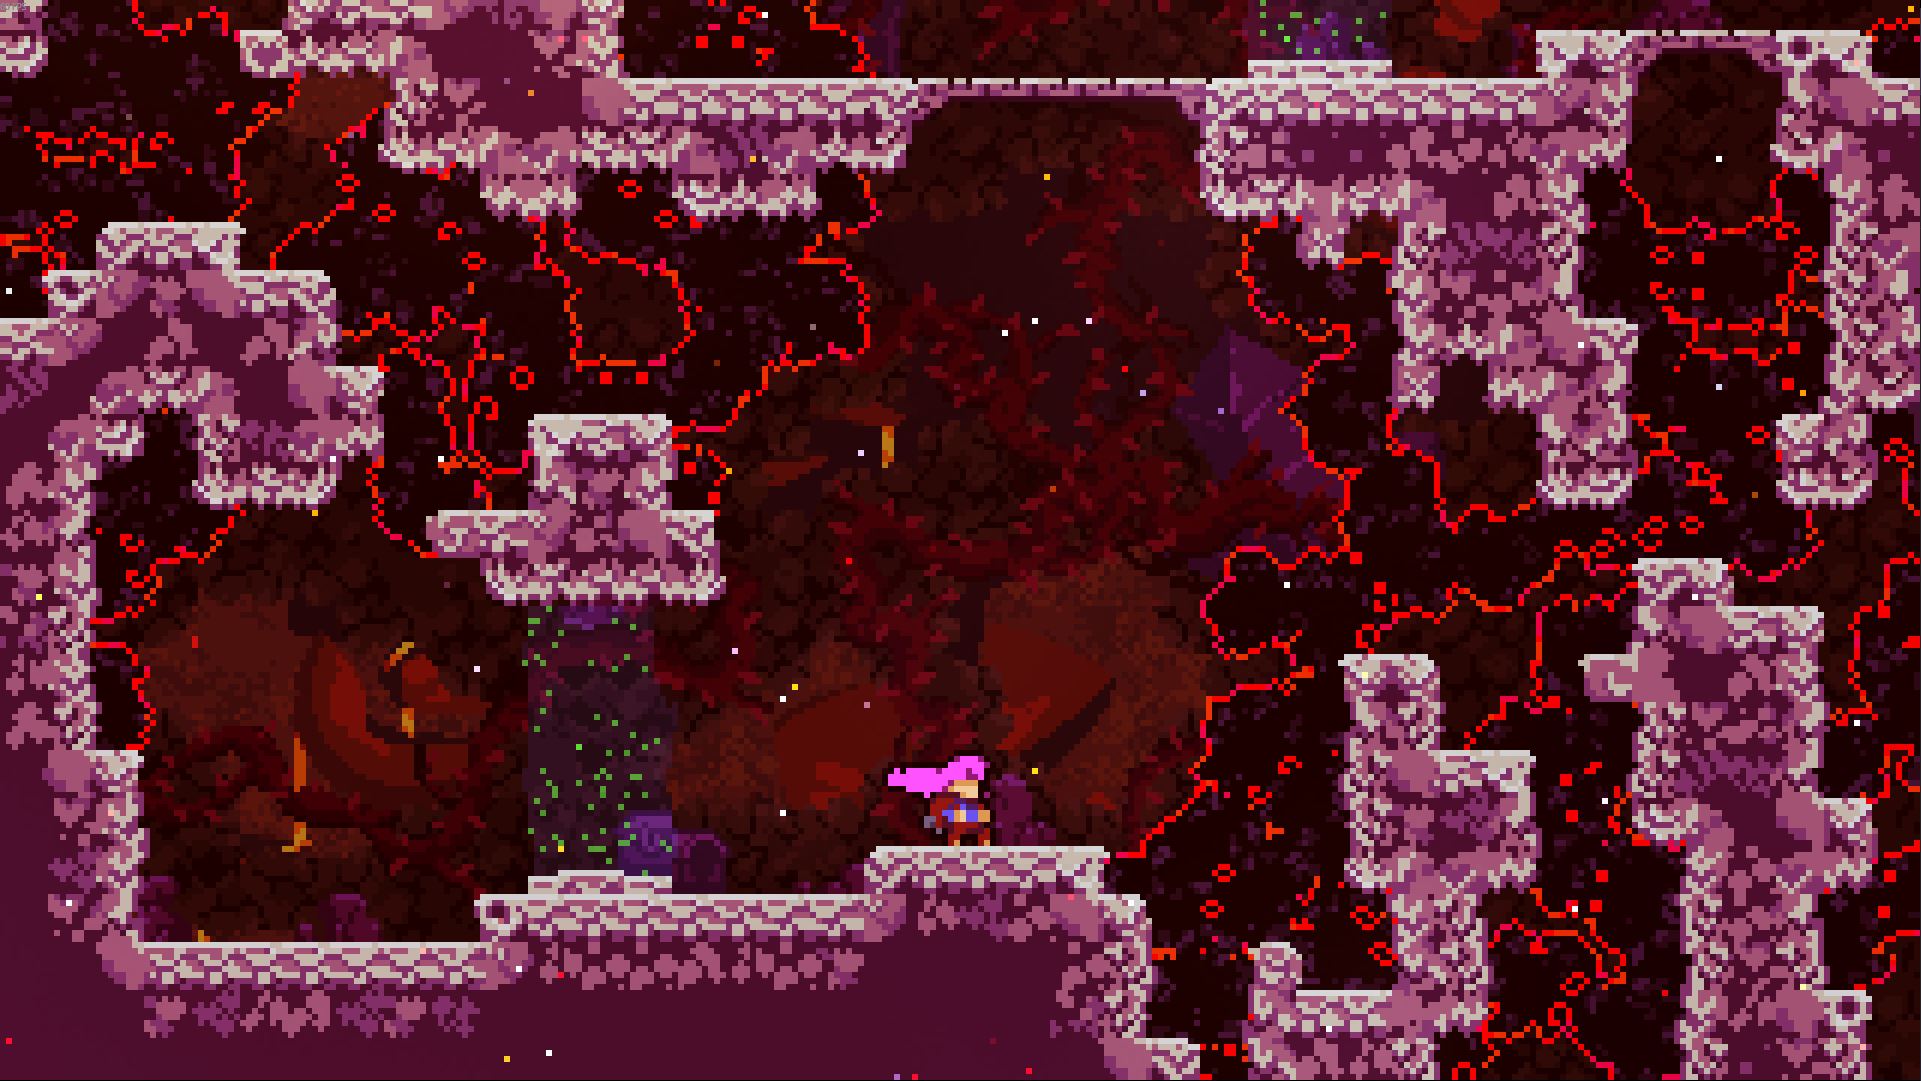
I started this room very simple to introduce my new mechanic. Madeline spawns in and walks through this strange new green field. On the other side, she gain another dash! With my gracefully donated extra dash, she can reach the top platform with two upwards dashes. At this point, the player may falsely believe the green field just gives you a second dash. So, I repeat the same setup again
This time, Madeline leaves the field with only one dash. If the player isn't paying attention, they may instinctively try to double dash upwards again. Madeline must instead climb (or wallbounce) along the side of the wall. The player should now know how green fields works as they had to react to two different swaps. Looking back, I did neglect to consider that Madeline can wallbounce on the right side of the walls, which lets the player skip needing to consider the mechanic entirely
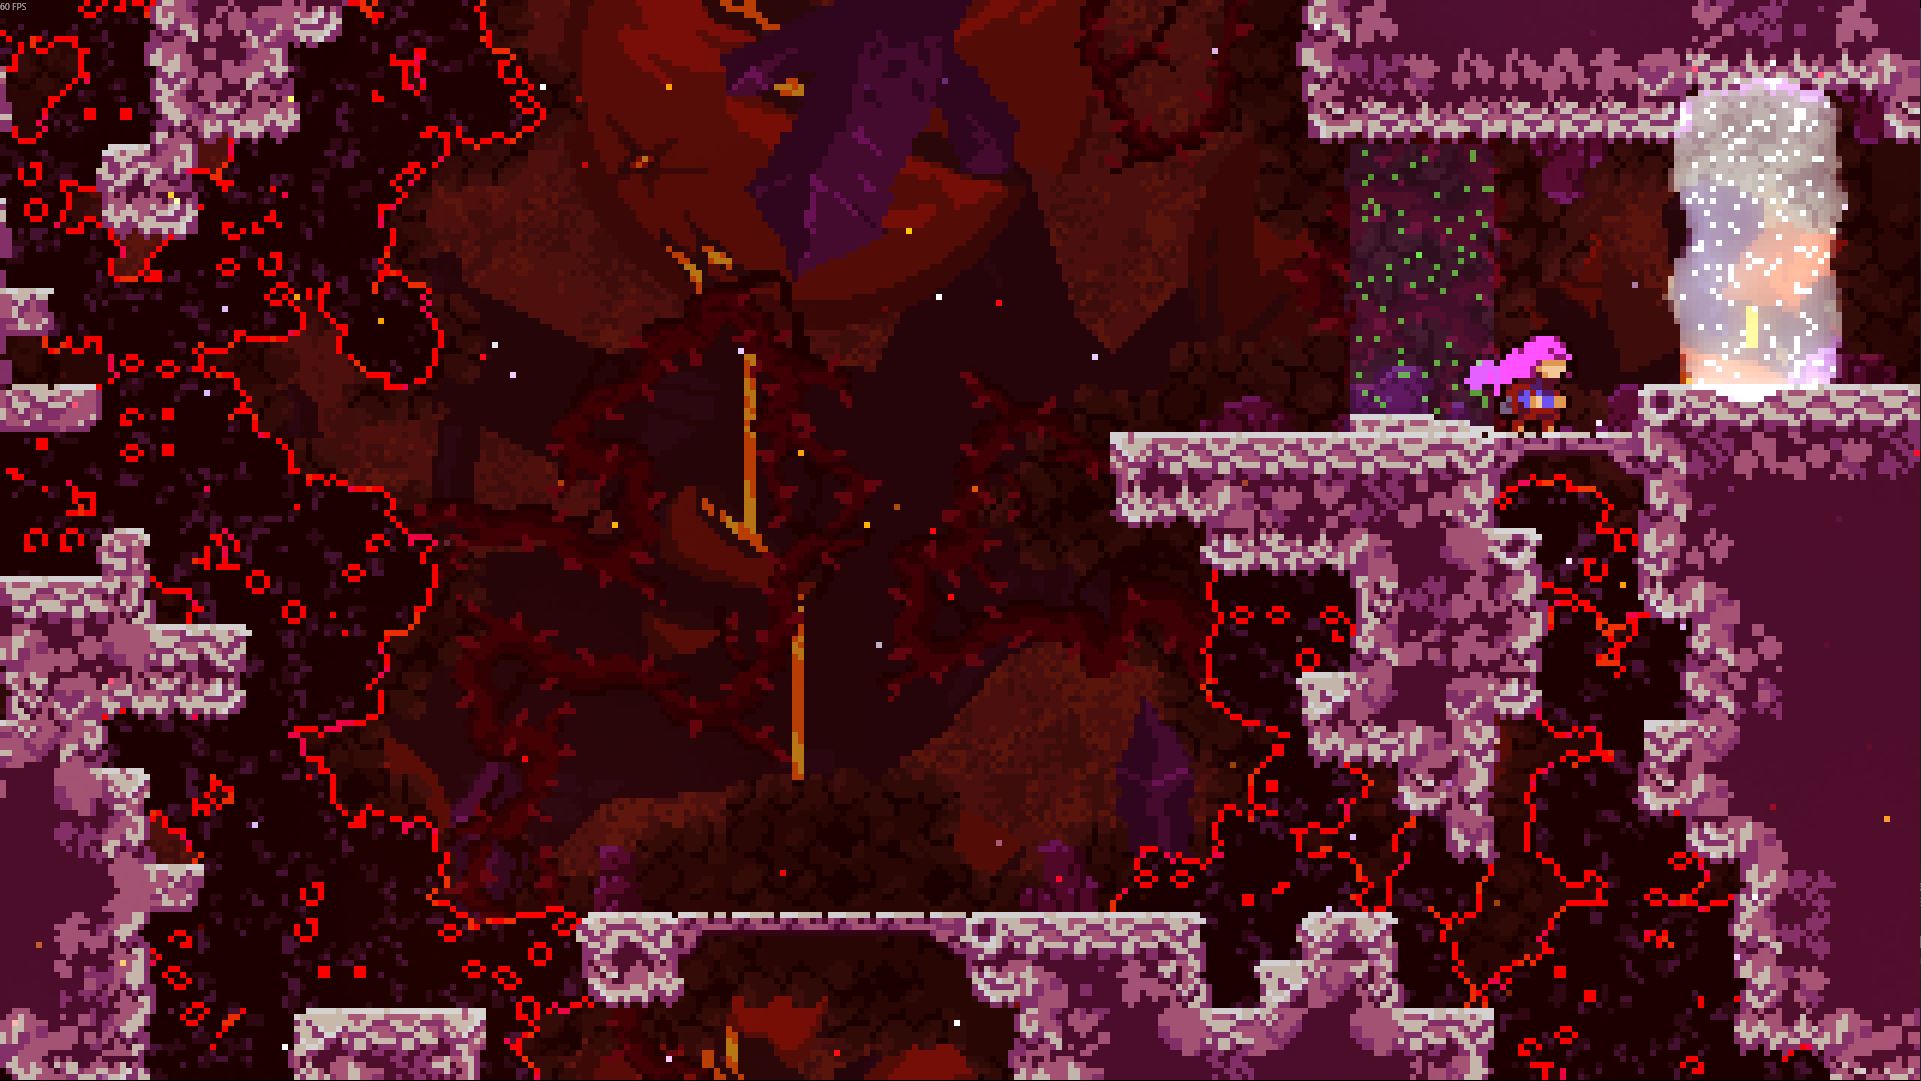
Finally, there's is one more green field in order to show you how the white fields work. It's only purpose is to reset Madeline's maximum dash count back to one on respawn as there isn't any code in the game that does this. Although Madeline has only passed through one of them, I think the player can figure out what they do for two reasons: they set her maximum dash count on any touch of the field, and they are a different colour. Unfortunately, this field means respawn points have to be placed far away to not interfere with the gameplay, which adds waiting time to every death.
It's important to note as well that the fields I used in this level are actually just repurposed entities. The dash swap field is actually just my custom trigger placed on a theo barrier (blocks theo from passing through) and the white field is just an inventory change trigger I placed on two seeker barriers placed ontop of each other. I originally intended for these to be placeholder graphics, but I never ended up finding a better alternative.
The choice to use dust bunnies for this level was inspired by the (now quite old) Core D-Side
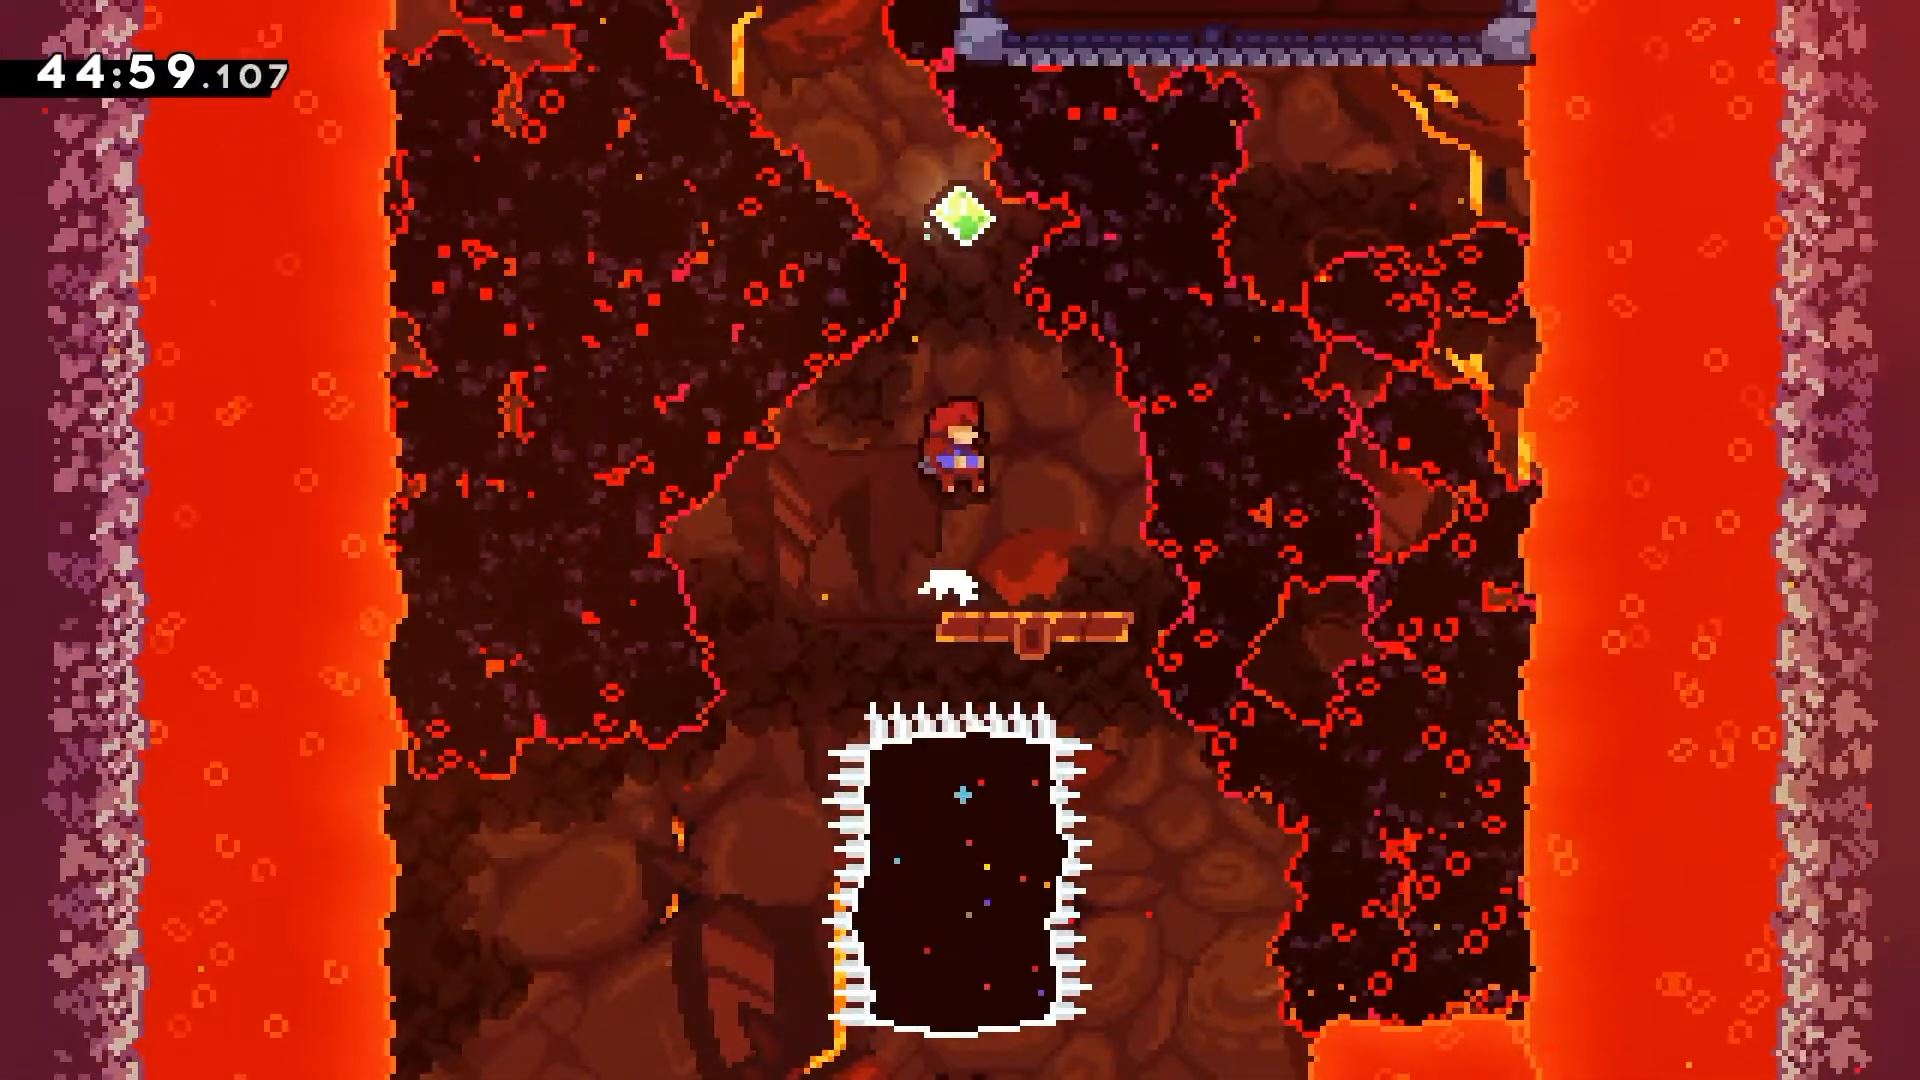
Aside from that, I intended for the decoration to make it feel like you are exploring an ancient cave which is collapsing based on the dust bunnies holding the tiles together. I still think the decoration looks really cool, even though it feels quite noisy in larger quanities. Something I wanna get better at though is taking more care around interests points when decorating, as I feel like the decoration is too homogeneous throughout the entire map.
The way I created the styleground was very silly. I took bg0 from the core stylegrounds, got out the aseprite jumble tool, and just... shook my mouse like crazy. The end result gave me this weird texture that I think fits well with the chaotic tile and dust bunny placement. I simply took the rest of the styleground from the core
The music for this map was made by Cerise Talis and it's an ambient
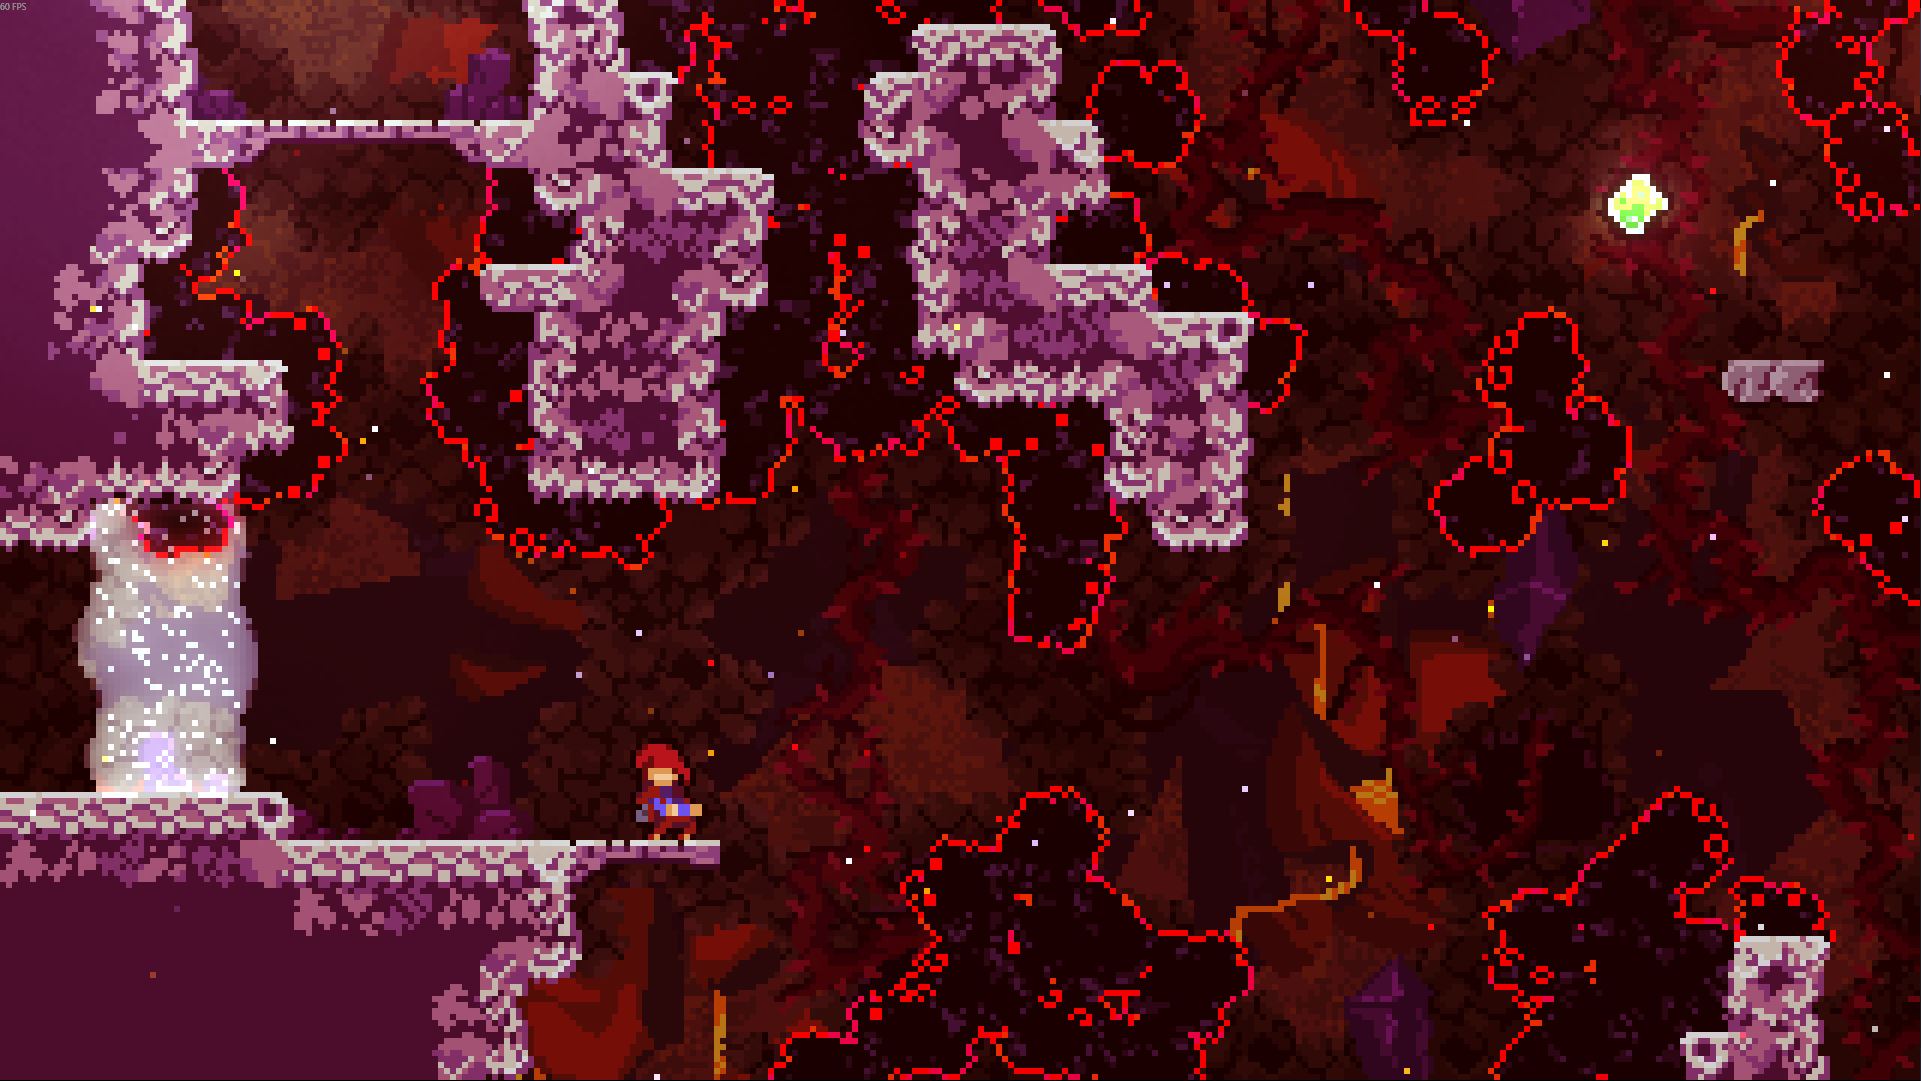
This is the first gameplay room of the map. As Madeline can only get to to the next room with two upwards dashes, the player's only option is to head right. I don't think the first part of the room is anything that special; just execute some tech with semi-precise timings. Once Madeline get to the end of the room, the player sees this formation
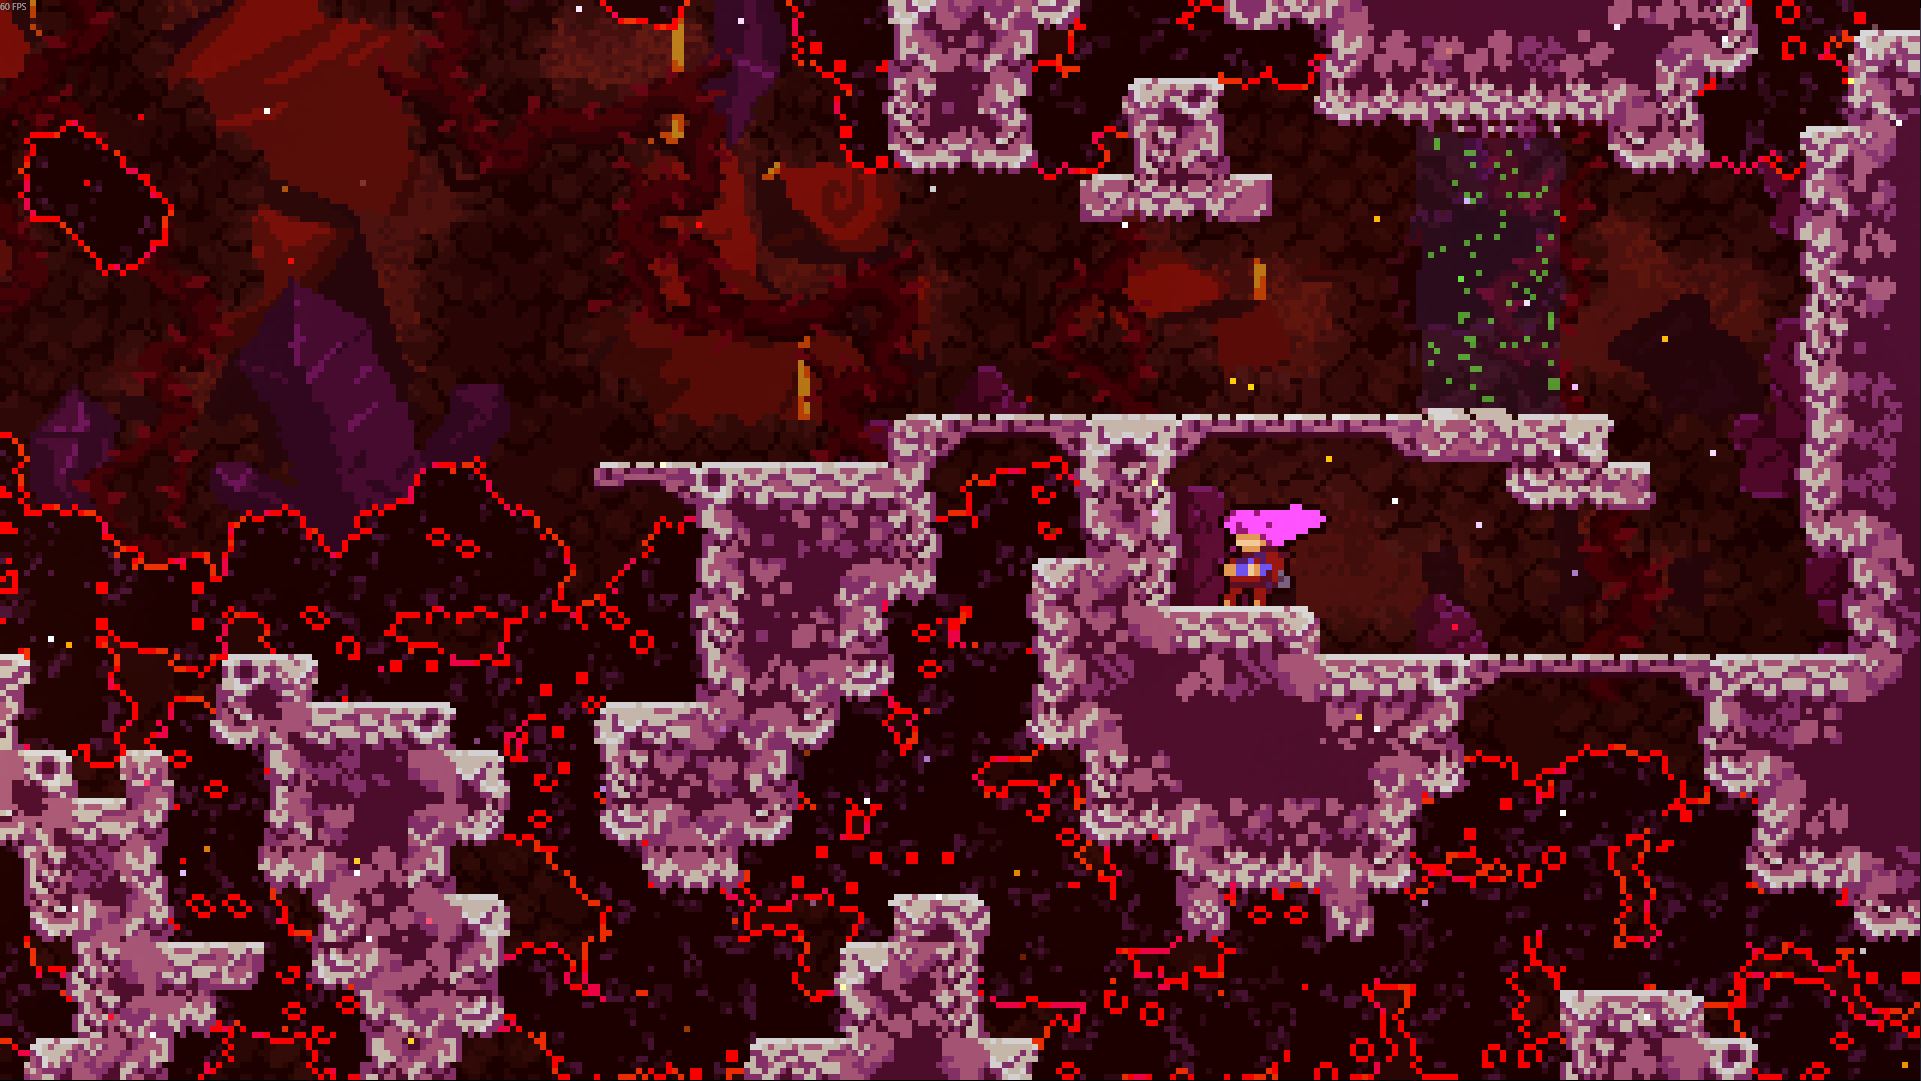
I do really like this introduction to the gimmick in gameplay, as the player now has to rethink how to approach the same gameplay with two dashes while going backwards. The dead end also clearly indicates that the only option is heading back. However, I do wish I was more considerate of the route back as it mostly involves skipping over the top of the prior route you just played, which I think is a little boring. I used a downwards arrow near the end of the backward route because playtesters got confused on what to do at that point. Unfortunately, this does add some confusion to the intital route forward through the room.
The berry room can be found heading left from the third room (which I'll get to later). I designed it to be a puzzle room that contains terrain filled with green fields and the player has to figure out how to get two dashes into the berry section. The solution is to go through a passage in the top right, which is only open while the touch switch animation is happening. I delibrately included it near the start as the player would have likely collect the touch switch nearby early in the level, which prevents the player from stumbling into the solution. Although I do like this puzzle, I do think it feel a bit cheap as the puzzle relies heavily on obscurification to work